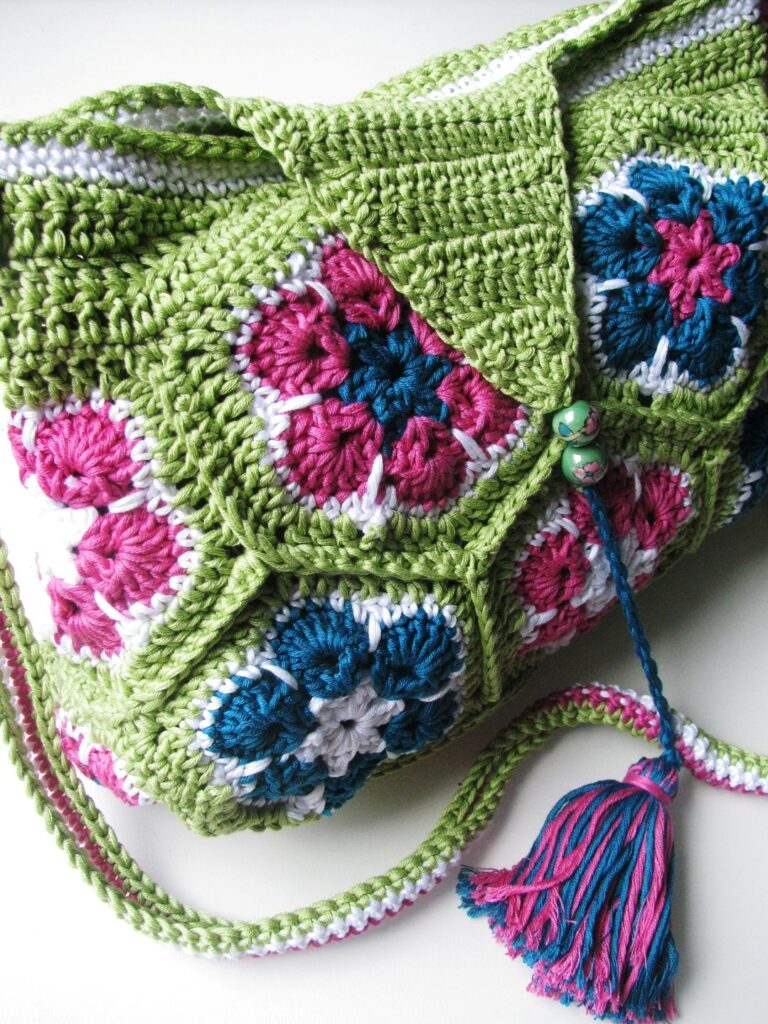
Kristin asked me how I put together my african flower bag, so of course I’ll share it with you! (There are loads of free descriptions for this lovely hexagon out there, so just Google it if you want to give it a go!)
I’ve tried to draw up a chart for the placement of the pieces below – hey, drawing even hexagons was a bitch! 🙂 You need a total of 16 pieces to make this – I made mine using Drops Muskat, a mercerized cotton.
The blank hexagons are the front/back of the bag, and the striped ones make up the sides. Attach all the squares, however you like, to form up the shape below – then attach each of the four corners just like the one I’ve color coded – it’ll be easier to understand once you get to this point and can fold the fabric. After this is done, the black sections shows the opening you’ll end up with – the bag is larger at the bottom than at the opening. Now you can just work around this opening, working deeper stitches in the valleys to even it out to a flat edge.
The handle is just sts worked around a long chain, and then seamed to the bag. This works out great as a project bag! The lid is not necessary – I might remove mine.
Oh well! Hopefully these instructions will be of help to someone! 🙂
***
Kristin frågade hur jag har satt ihop min lilla väska med afican flowers, så självklart ska jag dela med mig! (Det finns massor av gratis beskrivningar på denna härliga ruta där ute, bara en Google-sökning bort! )
Jag har försökt att rita upp ett diagram för hur rutorna ska placeras – att rita sexkanter var inte det lättaste! 🙂 Du behöver totalt 16 rutor för denna väska- jag gjorde mina i Drops Muskat.
De blanka rutorna visar framsidan / baksidan av väskan, och de randiga är sidorna. Fäst alla rutor på det sätt du föredrar , för att bilda formen som visas nedan – fäst sedan alla de fyra hörnen precis som det jag har färgkodat – det blir lättare att förstå när du kommer till denna punkt och kan vika tyget. När detta är gjort kommer du sluta med öppningen som de svarta sektionerna visar – väskan är större vid botten än vid öppningen. Sedan är det bara att virka runt hela öppningen, och virka djupare maskor i dalarna för att jämna ut och få en platt kant.
Handtaget är bara maskor arbetade runt en lång rad luftmaskor, och sedan fastsydd på väskan. Fungerar jättebra som en projektpåse! Locket är inte nödvändigt – jag ska eventuellt ta bort mitt.
Nåja! Förhoppningsvis kan dessa instruktioner vara till hjälp för någon! 🙂


Leave a Reply